
Before read this air compressor installation guide, you must have an air compressor. If you have no one, you can buy an air compressor within budget price.
Most people know what a compressor is and for what it is used for. However, the vast majority don’t know how to manipulate one. If that’s your case, you need to learn some basic tips to become an expert.
From inflating your car’s tires to painting with a paint gun, an air compressor is a very versatile tool in the right hands. If you’re thinking of buying a new compressor, pay close attention to this detailed installation guide.
Contents:
A Small Tips to Buy An Air Compressor in Budget Price
Before buying an air compressor, you should know very well what you need to do with it and how much air pressure and volume you need.
Most popular air compressors types are: piston and portable. Portable compressors have no tank and are ideal for household chores such as inflating your car tires or feeding a paint gun.
Usually, portable compressors can only feed an attachment at a time and don’t generate too much pressure.
Piston compressors can generate a lot more pressure than portable ones. They usually have a power range of 1.5-6 HP, although more powerful models can be found for industrial uses.
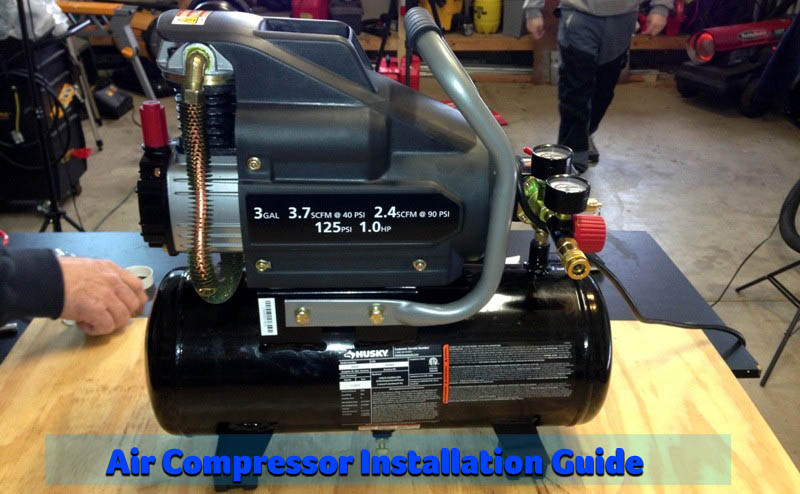
Single tank compressors usually reach a maximum pressure of 150 psi. However, those double-tank compressors reach 200 psi, making them perfect for heavy duties.
If you pretend to connect several tools in the same compressor, be sure to take account of the CFM (cubic feet per minute). This value allows you to know the total volume of compressed air that the compressor can generate per minute.
Want to Know More?
To know the CFM you need from your compressor, just add all SCFM’s (standard CFM) from each air tool you’re going to connect and multiply the result by a safety factor of 1.3.
Before buying any model, make sure you have enough voltage at home to make it work. Small compressors usually work well with 110 V; however, the bigger ones require 240V.
If you require continuous pressure for a long time, you need a compressor with a large tank. To inflate tires or using a nail gun, you don’t even need a tank. Remember that the larger the tank, the more difficult the transport and storage.
To find an air compressor that suits your requirements and your budget, make a list of everything you need and what you have:
- How much power?
- How much pressure?
- And, How much CFM?
- Available voltage
- Available money
Once you know the answers to these questions, find several models that meet the required characteristics and choose one. Remember: Never choose the cheapest one!
Step by Step Air Compressor Installation Guide
After buying the best compressor for you, it’s time to learn how to use it. Here’s a step-by-step an air compressor installation guide to correctly install your compressor:
01. Check the Oil Level
Some new and small compressors don’t use oil. If you can’t find the oil lever you don’t need to apply this step.
Usually in older and bigger compressors, the oil lever is below the engine. Pull it and verify that the oil height is equal to or greater than 2/3 of the total length of the lever.
02. Attach the Hose to the Pressure Regulating Valve
Most piston compressors usually have two gauges. A large one, connected directly to the tank and a small one, connected to the side of the large one.
On one side of the small pressure gauge is the pressure regulating valve. Connect the hose there, rotating counterclockwise.
03. Connect Your Air Tool
Connect the other end of the hose to the feed valve of the air tool you’re going to use.
04. Connect the Power Cable to the Outlet
Before connecting, make sure the compressor is off. If you plug when compressor is turned on, it won’t work.
05. Test the Air Pressure
Verify that the air is entering the tank, raising the safety valve, which looks like a miniature lever. If you hear a low whistle, the compressor is working fine.
06. Turn On the Compressor
Turn on the compressor and make sure the large gauge needle starts to move.
07. Check Out the Needed Pressure and Adjusts the Pressure Regulator
Check out the required pressure of your air tool in the user guide. Then, adjust the pressure regulator until the small gauge needle indicates a value close to the required pressure (10-15 psi below). Working at the maximum pressure could damage your air tool.
08. Use Your Air Tool
You can now start using your air tool with total security.
Conclusion
As you can see, choosing the right compressor isn’t that easy. However, this easy to understand guide will make everything simpler. If you answer well all questions in your list of requirements, there’s nothing to fear. Some steps may vary with some compressor model. Therefore, it’s always convenient to take a look at the user guide before starting using.