

Tree climbing spikes are a fun way to update the look of your boots. There are two main types of spikes: pointy, and non-pointy. Which you choose depends on what you want them for.
Pointy tree climbing spikes add some extra height to your boots. This is good if you are having trouble keeping your footing as they are higher in the air due to their pointiness. Non-pointy tree climbing spikes keep feet comfortably dry as the water will not stick to the spike and travel down into the boot.
When making these, it is important to have enough space between them so that there is enough room for the water to drain out. If too much space is created, it may cause damage to one or both feet when walking in the shoes or boots after making this change.
We suggest using clear nail polish remover pads as ingredients for your tree climbing spike.
Contents:
Buy a pair of nails for the bottom of your work boots
When you climb trees, you could be forced to use your feet to hold on to the branches. This is where boot nail tips come in.
By placing small nail tips on the bottom of your boots, you can create tree climbing spikes. These can be worn under your shoes and connected by a short length of rope or chain.
You would then hold onto the spike with one hand and use the other hand to support the rest of your body. By doing this, you would be able to reach higher branches than if not having tree climbing spikes.
cautions that tree climbing spikes are not a toy that should be enjoyed by children because they could lose control of the spike.
Hammer the nails into the bottom of your work boots
Once you have your spike feet, the next step is to make the spike climbing feet. You can do this easily by making your own!
Simply use a hammer and create a ring of nail-hard wood around your foot. This should take about five minutes of sharpening the nail-heads with the hammer.
Then, create two more rings of wood surrounding your foot, and insert the spikes. Add more wood where needed to reach the top of your feet.
Thread rope through the holes in the nails
Now, tie a strong thread rope around the bottom of the nail. This will prevent your nails from moving while you are working, and help you hang your tree later.
With the thread rope extended, measure down from the top of the nail to where it intersects the another nail. That number is your height of tree.
Start lower-merchant’s-chain-store nails at that number, and work up as your tree grows. Once you have a sturdy anchor point, use heavy books or something similar to protect the roots.
Make sure the rope is long enough to reach the ground from the tree
When making tree climbing spikes, you need to make sure the rope is long enough to reach the ground from the tree. A tall tree such as a pine may require more rope to get it in its own space!
Using a petite tree for your spike may help with this length of rope. It may also help to make your spikes longer by wrapping another piece of string around it at times to lengthen the string.
Make sure the ends of the rope are protected by a rubber band or similar protection device. If you use stronger materials, be careful that your child does not become too wrapped up in playing with them and lose their sense of safety.
Lastly, make sure your child knows how to use these trees safely. Have them learn how to put their foot on the bottom and how to climb using only one hand and foot support.
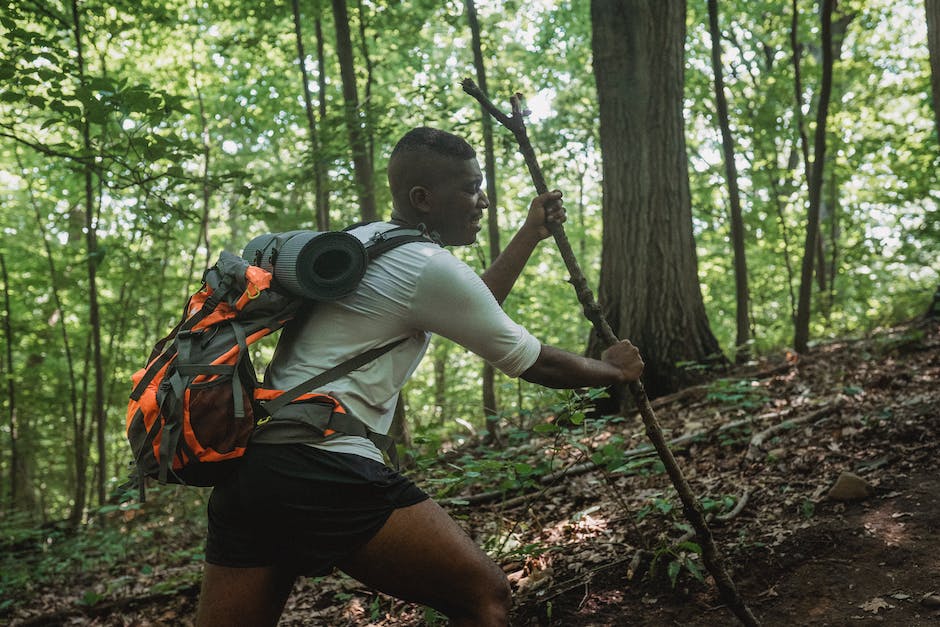
Use tree climbing spikes to help you climb trees
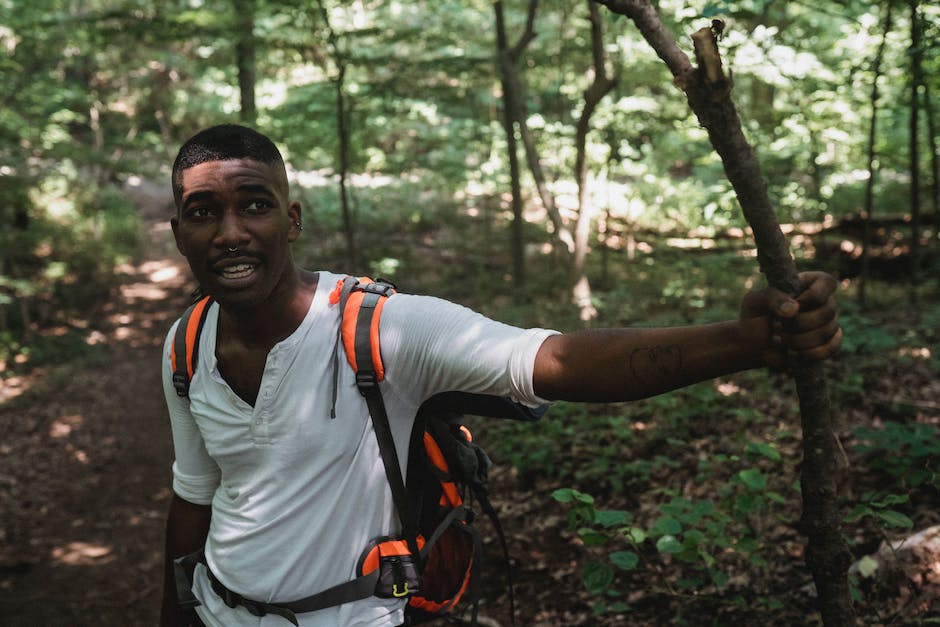
While not a universal solution to climbing trees, making tree climbing spikes is an easy way to help you climb trees. Tree climbing spikes are a small tool that can help you conquer the tree kingdom.
A spike is a thin, sharp instrument that is placed in a wound. After being inserted, it is then manipulated until it grows into a spike. Once this happens, the needle-like tip is saturated with blood and as such, becomes stronger.
The process takes several days, so during that time your hands must be protected from bleeding and temperature regulation.
Use safety equipment whenever possible

When you’re trying to make tree climbing spikes, the most important thing is to use safety equipment. You do not want to be the one who gets hurt when you climb on your tree and fall down!
Tree climbing spikes are for fun, not for serious climbing. So, when making them, make sure there are no sharp parts of the tree, and that you can move around without having to untip or remove them.
Also, make sure they are long enough to cover your back and feet when you sit on them. If they are short, you will be wiggling your toes and feet before long. And lastly, make sure they are safe! Make sure they are soft enough to touch but strong enough to withstand a person sitting on it for a few minutes.
Check your equipment before using it
When you purchase special climbing spike shoes or a climbing spike, they come with a specific size and shape of spike. However, these rules do not apply when making your own.
You do not have the safety margin of space and/or distance to adjust the size of the spike when making it!
That is why it is important to know how to make your own spikes. You can buy some pre-made ones, but you can also make your own if you wish.
They are easy to make and can be done both in store and from home.
Only climb at permitted locations
If you want to make your tree climbing spikes, then you should know how to make them. A few of the steps can be skipped, and you can just go directly to the store to buy one, but these are recommended.
You cannot make tree climbing spikes if you can climb a ladder or are able to jump on top of a table or counter. You must have some sort of foot support while making your tree climbing spikes.
They must also be made out of hardwood, meaning teak, walnut or mahogany. If you want your spike to stick up more, softerwoods such as acacia, birch or juniper would be better. These harderwoods will hold their shape better under the stress of climbing.
Once made, let them dry before using them! They should still be sturdy enough to hold someone up on top of them but not show through until they get up off of them.