

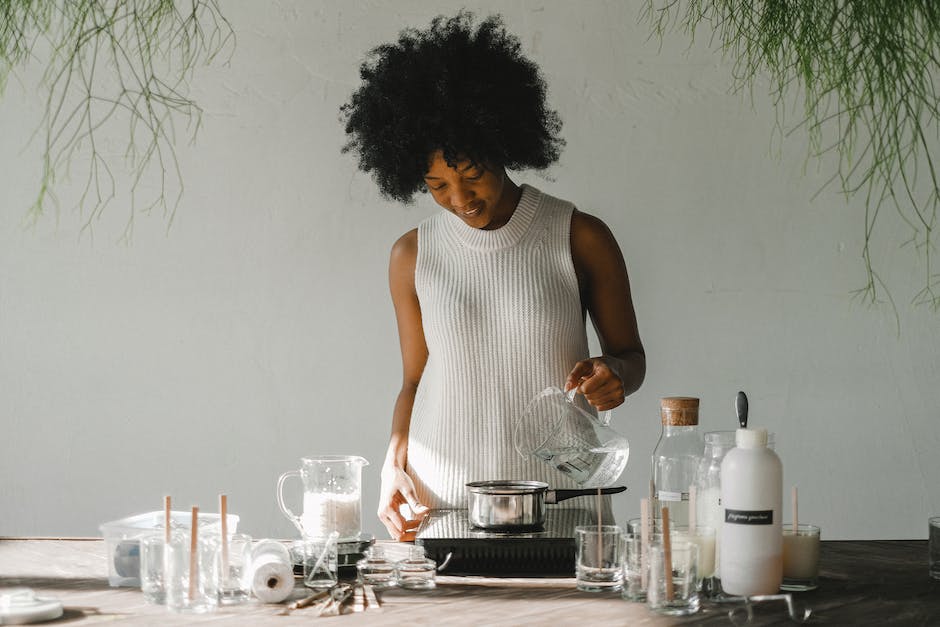
A super-strong, non-sticky alternative to traditional mittens is made by shaping two pieces of wool together in the same way that Velcro is made.
The result is a soft, flexible material that can be shaped however you like. This new method for making clothing is called knitting.
The term knitting refers to the process of placing the pieces together to create the piece you want. When it comes to making clothing, there are several different ways to do it.
One of the most common ways to make clothing is by using a pattern. There are many ways to create your own patterns, though! Many people start by buying ones that are easy to follow and make something out of them. If you do not have one yet, there are many websites that offer free patterns.
Contents:
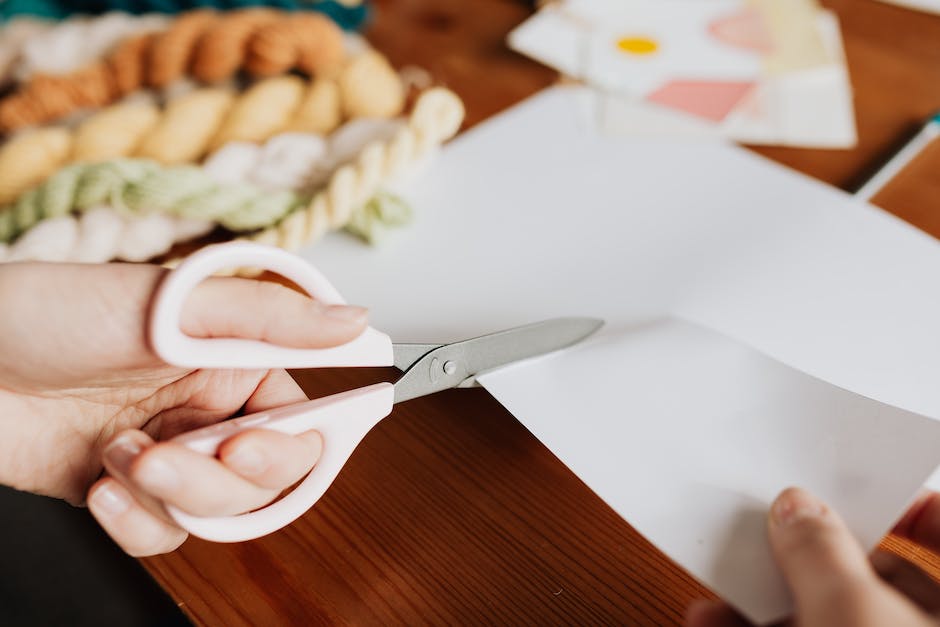
Buy card stock paper

When making your sticker paper, you will need buy card stock paper. Card stock paper is just thick paper that has been cut into a thin material. When glueing the sheets together, it will stick easily and remain flat.
You can buy plain card stock papers, but they may not be as beautiful as some. They may also be thin and might not last as long as something with thicker padding. Fortunately, you can buy some pretty thick padding like foam or hollowed out book pages to use as card stock!
List of things you need to make your sticker paper: printer paper, glue, scissors, and an awareness of how to make other crafts using printer Paper!
When doing any craft using printer Paper, remember that the layers have to be exposed all the way through in order for it to work properly.
Get paint and a paintbrush
Now that you have your gun, your first step is to get some paint and a paintbrush. You can find both of these at the local store, or you can make them yourself!
The paint must be flat and capable of flowing. The paintbrush should be round and able to pick up drips. Both of these items must be painted in a white color so that they stand out against the gun’s metal body.
To make the paint, you must first determine the required amount of squeegee force. The harder the paint, the more force needs to be applied to create a uniform coat. To test this out, try painting some detail on one side of the gun and see how much difference in thickness there is.
Find a canvas and a rigid frame
When you’re ready to make your first Stevens shield, the first step is to find a canvas or hard surface that is safe to use. You can find some at craft stores, but we suggest looking for something that is lined with foam to ensure it is safe.
Then, find a rigid frame or canvas-size frame that has a wide enough base to allow you to place your hand on the bottom of the shield. This will ensure smooth, even thicknesses of the shield.
Try out different shades of paint and see what combinations of colors you like on your children. The same goes for text and graphics. Let children choose what they want to say and put those rules in place for safety reasons.
When making your own shields, be sure to keep track of how many times each pattern is played and how long each mode lasts. These can help with judging if Children are ready to play ranked or unranked games.
Measure the canvas

When making Stevens shield, your first step is to measure your canvas. This can be the perimeter of your shield, or the length of your handle.
Third, like yardsticks in geometry classes, you have whichever one of these measurements is which one of these things we talked about earlier.
Lay the cardstock on the canvas
Now, place your canvas on your iron andclericale, and get to work! Adhere the cardstock to the canvas and let the glue do its work.
Once both layers are connected, brush some glue onto one side of each cardstock layer, then slide it under the other side and pull tight.
This will take a few tries, but keep practicing and you will get it! Once you do, Your project will look like this.
Now is a good time to add corners or edges because when they are dry, they’ll stick. Trim off any excess glue if it sticks a little bit more after that.
Paint over the cardstock layer
Now, let’s add our design. Pick a background color that is nice and neutral, like gray or earth tones. We will use this in our design to create some distance between the cardstock and the background.
To make making your own Stevens shield easier, pick a solid color for your foam layer and then pick a neutral color for the backing.
Then, buy some cheap black foam and paint it dark brown to match the back of your card. You can also use a bright red or orange if those colors are popular right now!
Now that we have our layers set, it is time to add some details to our design. We want some shadows under our defender symbol, some shapes on top of the symbol, and some details on whatever we put behind it.
Let’s start with adding the shape under the symbol.
Let it dry
Once your mix is completely set, let it dry. This can take a few days or weeks! Some people put the mixes in the fridge and then checked on it every day to see if some had come loose.
If you check it every day, you will also see more of the rich color show as it ages. It does look beautiful over time!
You can also try putting them in the oven if you have one already, but leave the doors open to allow for some hot air and moisture to escape. It takes about an hour and a half on average, so make sure you have enough time!
Either way, make sure you are happy with your creation before going anything else! If some parts are not working, that is okay! You can always add more ingredients or items if something does not work for you.
Peel off the cardstock layer
Once you have your cardstock, it is time to make your shield. You can make your shield as thin or thick as you like, it does not matter until you put the flap in the fire.
The first step is to un-fold the flap so that it can be laid out. Then, place a sheet of printer paper on a chair and then lightly tap the arm of the paper with an open hand. This will ensure that it works properly when seared.
Take your time in cooking your shield and remember that this recipe should take about an hour to make. If you need it faster, use a quick developing device or oven setting instead of long baking time!
After baking, if some part of the shield broke down, put those pieces back in the oven for a few minutes to steam back up and re-fragment them! If some part of the shield was very hot, take precautions by placing it under cold water before trying again.