
Balloons are a classic childhood memorization tool. They can be made out of many materials, so there is no shortage of opportunities to make them!
The best way to make baseball flowers is to start with a very thin layer of foam. This will give you some guidance as to how thick you would like your flowers to be.
Basic balloon making techniques include using paper or cellophane as the support material, painting or printing the shapes on the foam, and adding glue or sewing thread to hold the layers together.
Canvas is another basic material used in making baseball flowers. Using something sturdy and reliable will help keep confidence in your young artist. Canvas does not easily change color, but maybe a little paintwork skills can?
Getting started into canvas art can be fun and easy.
Contents:
Make a triangle shape

When you have your paper cut out, you can make a slightly different shape of the flowers. You can create a little triangle shape or a circle shape. The reason you can have either is because of your knowledge and ability.
There are many ways to make baseball flowers. Some people use glue to stick the paper onto the board, but we will talk about that later. Other people use paint or markers to draw the flowers onto their paper.
Either way, they are beautiful!
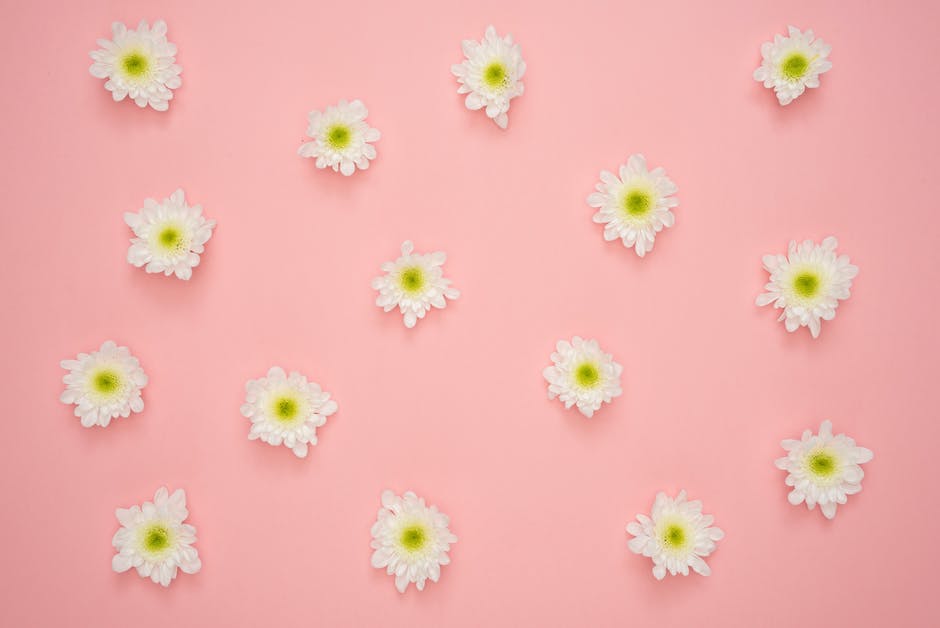
How to Make Baseball Flowers (pg 1) A look at some of the ways to make baseball flowers.
Take another paper and make two diagonal lines

Now take a sharp object and create a rounded tip to it. This is the pitcher and ball handle you will use.
Put the paper in to train the handle to sit in the middle of the paper. Press both sides of the paper together to make it stick.
Make your flowers as long or short as you want!
How to Make Baseball Flowers is always a fun project to do with your kids. You can make some fun patterns or take on some field themes such as spring training, football season, or baseball season.
They can create some great projects on their own! Try having them pick one type of flower and then making others for an easy way to fill up time.
These flowers are a great way to work on fine motor skills as they need dexterity to put together so that samey looking flowers look different.
Cut along the lines to make petals
When making baseball flowers, the most important step is to cut along the lines that create the stem and leaf. This means removing a small section of the flower stalk and adding another one!
This allows the flower to expand as it grows, creating more space to add more petals. It also makes it easier to remove the flowers before they grow too large!
How to Make Baseball Flowers can be done in many ways. There are many that use thorns or foam patterns for leaves and rings for stems. Either way, both are free!
If you want to try making some quicker, take a length of fabric and cut a hem down on one side. Then, using a hot-glue gun, attach two sides of the fabric together and let it dry.
Place the petals on the triangle
Now, place the three petals together and trace a line around the triangle. This is where the threading comes in- you will be connecting the two pieces of paper.
Now, cut one piece of paper in half and glue the two pieces together to create one baseball flower. You can add some detail by adding some thread or leaves on top!
This process can be done with other sports flowers such as soccer flowers or baseball flowers. Either way, they are beautiful!
Now that you know how to make baseball flowers, have fun making some! They are a nice way to wind down after a long game or season of play.
Use a pencil to shape the petals
When making baseball flowers, you will need a pencil to shape the petals. A sharp pencil will not leave any marks on your flower.
You can use a eraser if you want, but we suggest starting with a soft one so that you do not damage your flower.
The easiest way to use a pen is to make an initial mark on the paper, then insert the pen and write an adjoining line. This method works for creating tight or open lines of petals.
The last way to make baseball flowers is to add some glue or water and let it set before folding the paper over the top.
Put glue on the base of the petals
When you make baseball flowers, you need to put glue on the base of the petals. This prevents them from rolling up due to gravity.
This is important because if you let them stand in the glue, they may fall out. So make sure to do this early in the process to ensure they get a chance to dry properly.
Once they are dry, roll them up and tie a flower shape together. Then, let them sit until they are cabbage-cola colored and fluffy. This takes about an hour or so!
Now it is time to paint them! If you want more detail or a bolder flower, add some more glue and/or paint.
Put baseball trimmings around the flower
Once you have your baseball flower templates, the next step is to create the flowers. You can do this by using a paper doll or by computer.
The way to create the leaves on your flower is by adding some paper doll hair and creating a circle or a rosette around it. Then, you can add some fabric or stretch lace to create the stem and leaves.
The same goes for the bouquet style of your flower. Add some more hair and repeat!
Then, put some glue on each piece of material and stick them together. This will keep them in place as you make your flower.
Put a pin in the back of the flower
When your flower is done blooming, let it rest a few days before cutting it. This lets the roots grow and stays beautiful for a year or two.
During this time, let the plant cool down completely before taking its root. This helps ensure that the plant is still growing and doesn’t break off during cooling.
After a few months of growth, you can take your plant out! It will continue to grow at an incredible pace until it reaches its destination.
Remember to take your plant out slowly and with care to prevent stress on the roots. If you have to cut it off sooner, use a sharp knife instead of one of them!
This article talks about other ways to make your plants visible so that people can determine whether or not they have Roots.