
Making a toilet paper rose is an easy way to enjoy archery or simply create a soft, relaxing room or nap space. Both are perfect for after a day of shenanigans!
This article will go into detail on how to make a toilet paper rose. This simple project can be done in the comfort of your own home, as there are no complicated tools or materials used.
We recommend using white sheet music roses to start with. These work best if you start with one side up first and then flip over to the other side.
Contents:
Unroll about one quarter of the way
When you have enough toilet paper, pause before rolling up the rest of the roll. You want to leave room for your rose to grow as it matures and stands up to some use.
Once you have your first rose, try adding some extra toilet paper to see if you can make more appear. Bring them indoors or out in the rain!
This process takes a little bit of time and effort, but it is so worth it in the end. Creating your own TP supports the barrier and prevents it from coming apart, even if it is wet material.
Making your own TP is a great way to help support our environment as well as earn some easy cash at souvenir sales.
Take another roll and unroll about one quarter of the way
Now put one corner of the paper in and leave it in there for a minute
Then take the other corner out and shake it around
Put it in and shake again to make sure it goes in
Now sit back and enjoy your toilet paper roses! They look beautiful sitting next to your tub or shower stall. They are a relaxing way to spend some time. Some people hang them on the bathroom door or a similar spot to let people know they are there.
Very few people will notice the little ruffles that come out when you roll them up, but they will look much better that way! These little decorations go well with some gentle music playing so you feel more relaxed so you can enjoy yourself.
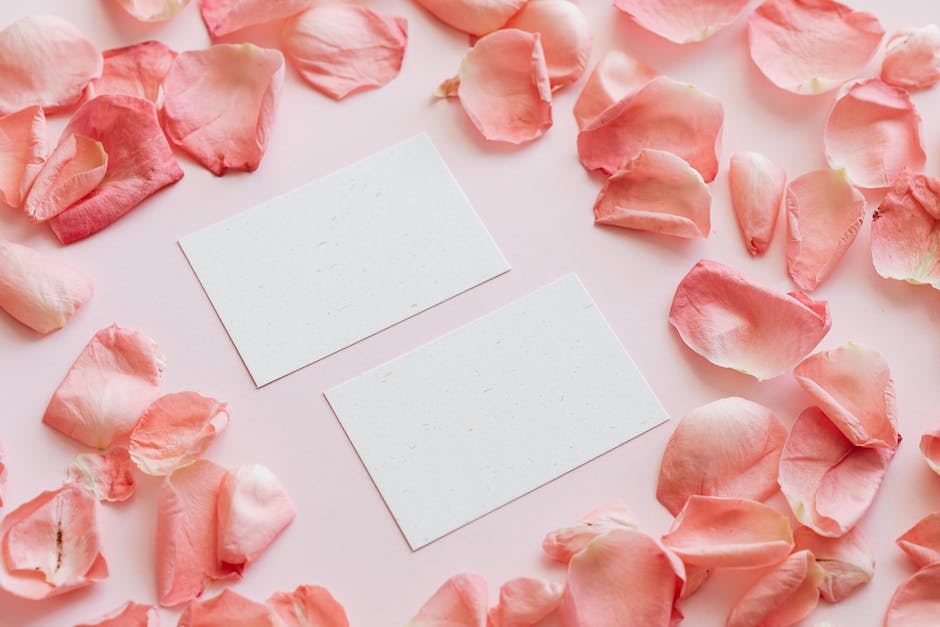
Layer the two rolls on each other
Instead of having a plain toilet paper rose, make two separate rolls of toilet paper on top of one another. This way, you can have a longer toilet paper rose, or two loops of toilet paper on top of each other.
Why do this? Because if you lay them side by side, they will stick together.
You will also be able to remove the extra over time!
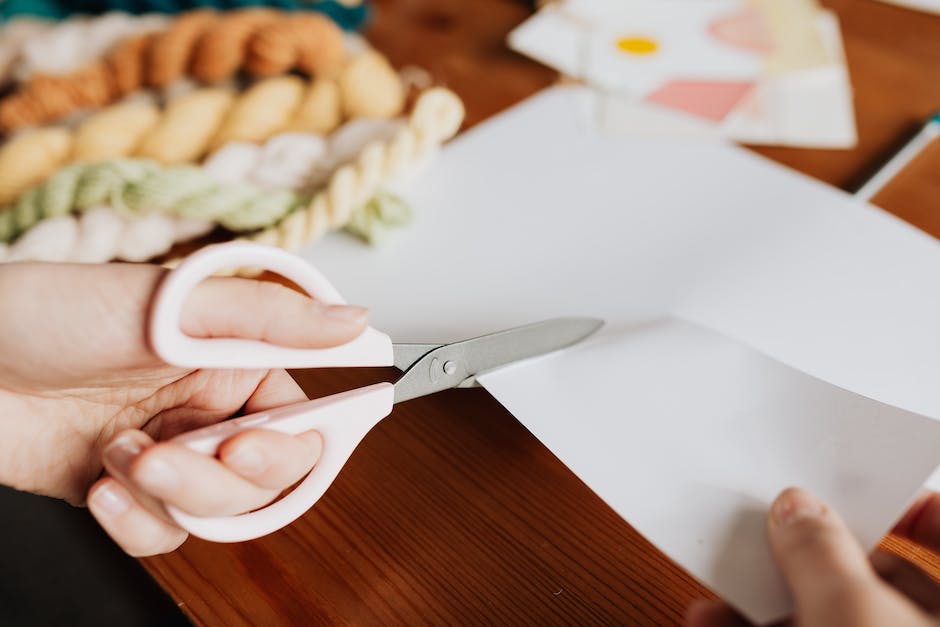
Put the layers in the oven and heat them for about five minutes before cutting and pulling off the petals. This will create a tighter knot when you untangle it.
This technique is called layered papercutting, and it is very easy to do.
Keep layering until you have enough rolls to make a rose
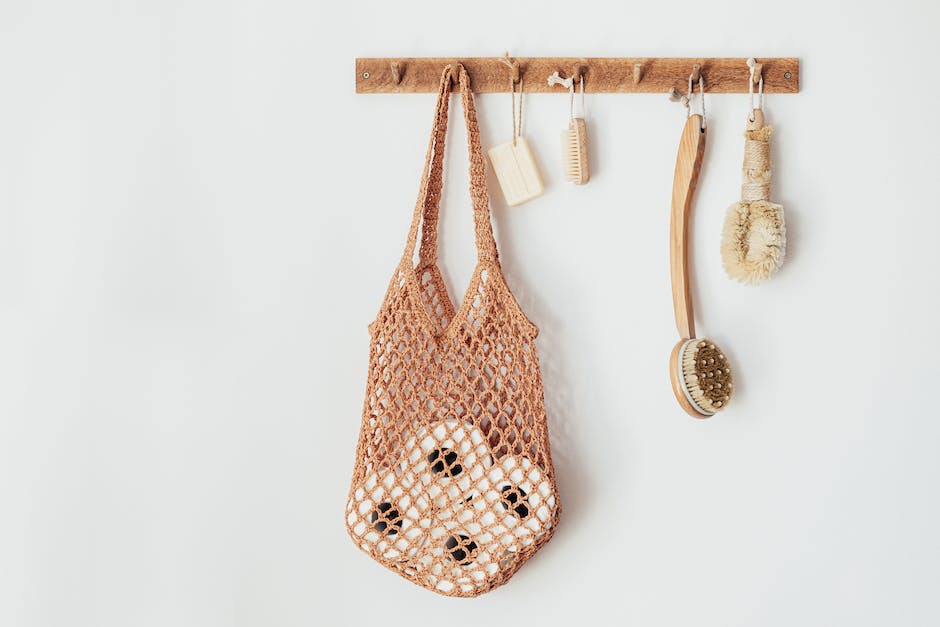
When you are finished making your toilet paper roses, you will have left over paper rolls. Make sure to save some rolls for next time!
You can use these rolls to make Christmas tree ornaments, tissue craft table decorations, or even put them in a vase and send them as a gift.
These would be a quick project to do once a year, so take your time to learn how to make your first one and have fun doing it!
If you are having trouble creating the rose shape in your toilet paper, try rolling the toilet paper on both sides until the shape is created. Then, bend the edges of the roll and create the rose shape.
Either way, let it dry before adding another layer of rolled toilet paper over it to prevent any wetness problems.
Twist all the rolls together until you have a rose shape

Now let’s make our toilet paper roses! First, divide your rolls into two groups. One group should be white and one group should be pink. Then, twist the two groups together until you have a round shape.
Poke a hole in the top of each rose to let air in and out of the roll. This will prevent dryness and stickiness problems! Now, use some wax or glue to attach the leaves to the roll.
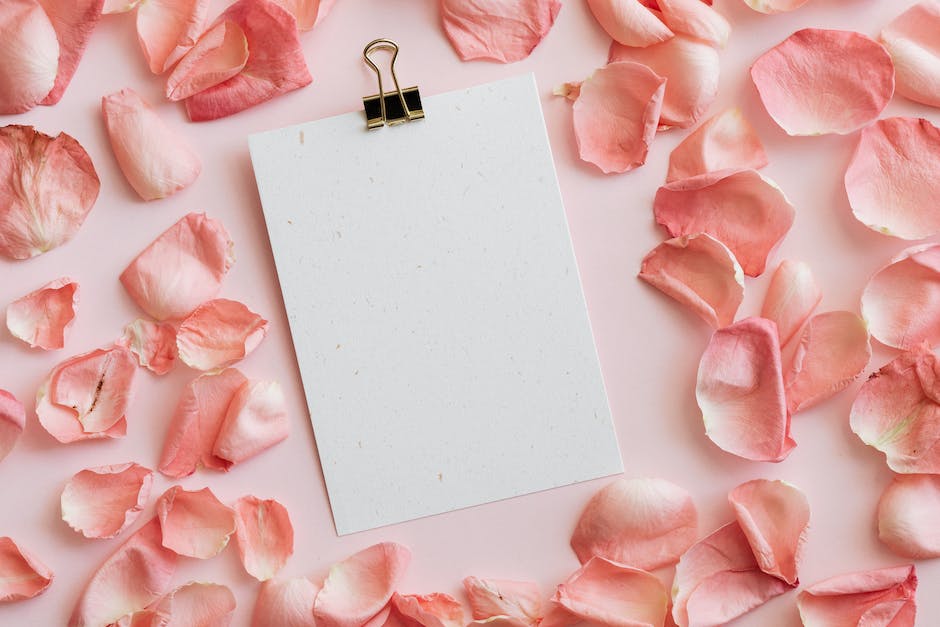
Attach a stick to the bottom of the rose
Now, let’s add some details! Add some leaves, a stem, and maybe a crown.
Using your favorite toilet paper brand, create the physical shape of the rose. You can do this by tracing the shape on the paper and then adding the details!
Now that our beautiful toilet paper rose is made, let’s add some tissue! Using your new material, trace around the edge of a piece of tissue and wrap it around the top of the pot.
Let her grow in as she needs to! We recommend letting her stand for at least a week before using her. This allows time for her roots to establish and grows in quality of tissue she uses!
Now that we are all finished making our beautiful roses, let’s add them to a vase! Creating a secure place for our toilets Paper Roses is key so they can grow their roots.
Coat in paint or leave natural
If you are able to you can create a soft, gentle toilet paper rose. The trick is to decide what color you want your petals to be and then go with it!
Some people use flesh-toned tissue and add a bit of blood through the process. Others use flowers in their rose creation.
Either way, this is a fun project to do with your dog. You can even play with the look of your toilet paper rose as the day goes on.
Play around with some different heights and styles of roses. You could even go for a soft, subtle pink, cream, or red!
This petal style does not always correspond to the shape of the dog’s head. That is something that must be accounted for in creating the shape of the rose.
Enjoy!

This toilet paper rose is a fun, simple way to make a little flower for your roll of toilet paper. All you need are some flowers and/or leaves and/or buds and/or branches to create your toilet paper rose.
You can use any kind of floral material, but the better the quality the thicker the petal structure will be. More expensive toilet paper sheets will have more substantial centers.
To create your own cheaper versions of the standard white, flimsy tissue roses you can use some natural elements like leaf buds or flowers that look soft and plush. You can even use some soft grasses if those are available!
Once you make your rose it is time to decorate it! You can paint it with some food-grade acrylic paints or powder-based painting materials or you can let someone else do that for you.