
Making a moving sand picture is a fun way to learn how to create simple images. It is also an easy way to do so, because there is a software for you to download and use!
Moving sand pictures are pictures where you use a medium-sized grain of sand, and move it around to create different textures. The idea is that when the viewer looks at the image, they are thinking of where they would like to be in that picture, and the moving sand picture creates a relaxing effect.
The software we use is called digital camera image editing programs. Many popular camera apps such as Photography Pro or Adobe Lightroom have them and can be downloaded directly.
Contents:
Choose a design
When making a moving sand picture, you have two options: go for the traditional, or experiment. There are very few rules for either mode, so let’s talk about both.
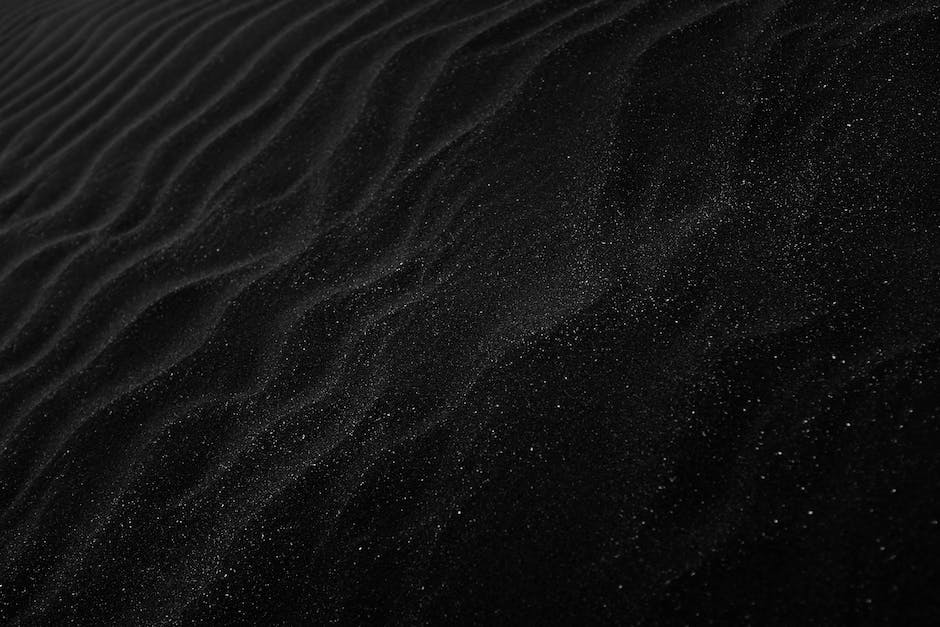
Traditional Moving Sand Pictures Use A Large Amount Of White Sand And Trace A Line With It. The Trace Line Is What Makes The Picture Show As Some Lines In The Sand. These Pictures Are Very Budget Friendly, Since They Use Only One Type Of Sand.
When Experimenting With This Mode, You Can Use Many Types Of Sand Or Create More Intricate Patterns In The Material. You May Also Use Other Media To Make This Part Of Your Picture.
Practice the design
Now that you have the basic idea of how to make a moving sand picture, it is time to put it into action. You will need some sand, a camera, and a timer to do this.
The first step is to decide what design you want on your sand. There are many ways to design moving pictures, so choose one that makes sense to you.
Then, get out the camera and start shooting! It is important to take your time as your picture will go by fast.
When you are finished shooting, add some water or ink or whatever makes the most difference in how your picture looks. Then, carefully place your piece of sand on top of the water or ink or whatever material you placed them on.
Choose your colors
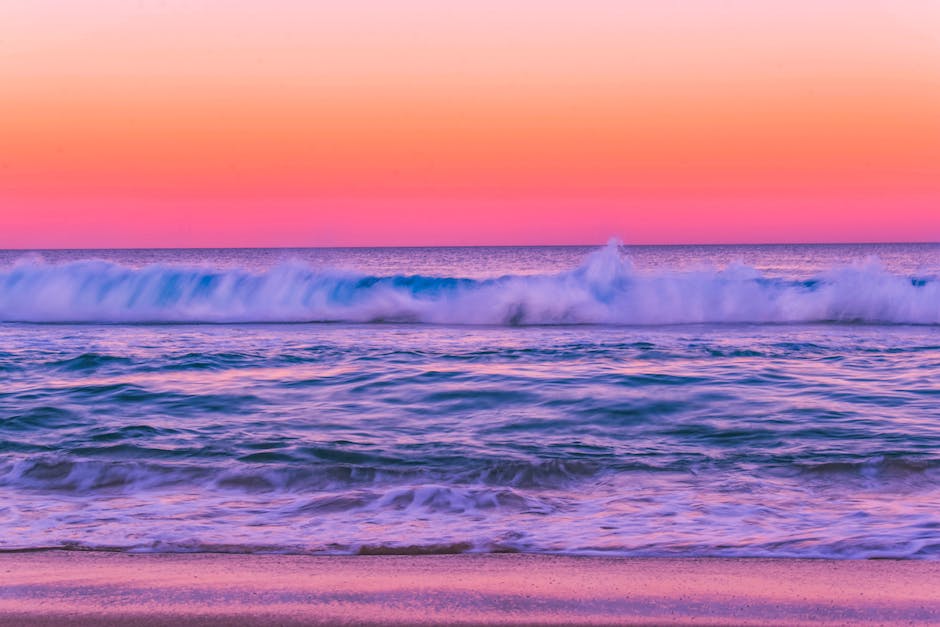
When making a moving sand picture, you will need to choose your colors. These can be either white, gray, or some other color. The main reason for choosing these colors is to chose one background and add some more to it.
When white is the main color used, it helps to add some texture to the space where the picture is placed. A little bit of gray goes a long way in creating interest as well as adding some dimension to the picture.
Of course, you can mix and match these colors as well! When using bright colors, like reds and oranges, they can be matched with a neutral color likegray. When using more natural shades of colors, like dark browns and lightbrowns, there are no wrong answers- they just need to be in proportion with the other colors in the picture.
Set up a table
Once you’ve arranged your supplies, it’s time to make your picture! First, you need to set up the background. You can use a white sheet, colored sheet, or even leftover bulletin board paper.
Then, you want to create your picture. Create a circle of sand with your hand or a child’s hand. If you place one foot in the sand, that is one side of the picture. Make another foot if you do not have enough sand to make a full foot.
You can then add water or other features on top of the picture, like a house or lake. Finally, add some scenery or what you are trying to portray with the picture.
Pour the base layer of sand
Once your sand has dried, you must add the rest of your sand. You can do this by placing the new sand on top of the old, or by pouring the new layer on top of the old.
Either way, you must do it slowly or you risk breaking down your sand and adding more material to your picture.
To pour your new layer onto the old, you must use a streamer-like pattern of sand to create your new landscape. To create this pattern, start with about one-fourth of your desired length of landscape, add some more sand and then finish off with no more visible landfasets.
To create a funnel-shaped landscape that looks like it is rising up out of the ground, start with about one quarter of your desired length of landscape, add some more landfasets and then cut off all but one side.
Place your drawing on top of the sand painting
Now you are going to make sure that your moving sand picture is even. You will do this by placing a layer of sand on the painting. The more water you use, the more sand you will need!
You will need to start with a very small amount of sand to get the effect you want. When we make our children’s paintings, we add about a tablespoon of water to the painting to make it floatier. We also add more if we like the texture!
We recommend using white paint for this effect. The red and yellow tones will show through the paper slightly when painted, making it look slightly different than just white paint on paper.
Start tracing the lines of your drawing

Once you’ve decided on a line shape, begin tracing the lines of your picture. You can use a pencil, crayon, or trace paper.
www.instructables.com/member/danielle-stoecker/lines-of-a-moving-sand-picture
You will need to once again make sure your paper is smooth and sharpened. When tracing the lines, let some of the paper be overlapped so you have some support.
Once you have traced the first few lines, then you can begin adding color to your sand. You can use one color for each line, or combine different colors for your picture. Just remember that when using more than one color, they must be consecutive colors in terms of length and thickness.
Finish by blending the colors together
Once the picture is finished, you have to let it dry. This takes a few days or weeks, it depends on how fast you drew the picture. You can either let it sit or move onto the next picture.
If you moved it off the floor or down a step, then you took away some of your main point of leverage. The sand must be kept tight or it will escape and break apart. If it softens up, take another shot and keep going!
Once they are completely dry, put them up to display or case for display. Either way, have fun with them! These are great ways to teach kids about geometry and measurement so that they can make their own pictures.
Having fun with these pictures is what they aim to do- make them proud of themselves by finishing off with a good measure of symmetry and texture.