
Die cutting is the process of creating a cutout shape from a sheet of material by placing a die or cutter on the reverse and then scoring and removing the die from the sheet.
It is most commonly used for cutting out shapes like circles, rectangles,OMG!!! You got it! It is also an excellent tool to make custom invitations and form cards.
There are many different ways to make a die cut plate. This article will go over how to make a simple one. There are many varying levels of expertise that can turn into another plate or two!
Many people use this tool to make very elaborate plates, but we will not go that route today.
Contents:
Find a plate that will fit the die

When making a die cut plate, you will need a plate that will fit the die. A small die can be difficult to make a first time user of the blank plate menu choose correctly.
Many recipes call for a knife to cut the food, not a biscuit cutter! If you have an old one, good enough for making this easy recipe.
Make sure your plate is clean and dry before attempting this recipe. And lastly, make sure you are holding the plate firm while cutting. If your plate is slightly loose-fitting, your cuts will be slightly miscu- pable and poor quality.
General tips: Make sure your recipe is solid and stable before moving on to the next step.
Trace the die onto the plate
Once you have your die, it is time to trace the plate. If you do not have a grid reference point, then you can simply trace the outline of the plate.
Then, just make a mark where you want the cut to be and punch out the rest of the plate!
You can add some glue or tacky substance to help hold the die in place during cutting, but it should be lightly applied as this will break down the die quickly.
Once cut, let them dry and pride yourself on having made a beautiful Die Cut Plate!
This article has gone over how to make a simple Die Cutting Set, but there are many other ways to do it.
Cut out the traced die shape
Once you have the die cut plate layout and details ready, it is time to make the shape of the plate. You will do this by tracing the traced shape onto your material.
Then, you will cut out the shape and hand-pieced together your plate! This can be fun to do in a group setting, where everyone gives input on what foods they want on their plates.
You can also do this individually, if you are comfortable with machine cutting and hand-cutting your plate.
Test out your new die cut plate
Once you have your die cut plate, the best thing to do is to test it out! Try sticking a small piece of food in the plate and seeing if it comes out or if it cuts off.
If it cuts off, congratulations! You just made your first successful die cut plate! If you like how it turns out, try adding some details and/or adding a shape to your plate.
If you like how it looks, invest in some quality paper and have a fun time creating your paper plates! Just be careful to keep track of yours so they don’t get lost.
Re-trace if necessary

Making a die cut plate is an easy way to make a quick and reliable plate. All you need to do is trace the shape of your food or drink and then cut out the shape!
You can also make a simple outline, trace the outline, and then cut out the outline. This can be used for making footballs or shapes!
Either way, they are really cute and fun to make. Just remember to change up your templates if you have new ones. Some use tracing papers, paint pens, etc.
Re-cut if necessary
If the first cut doesn’t look right, then you can re-cut the paper slightly in order to keep your design on. A good way to do this is to fold the paper in half along the long edge, then pull it back out and cut it again.
You can also draw new lines to help show where your design needs to go, and then cut that out. It is also possible to glue or pin those pieces in place, but that requires a little more skill and time.
Either way, these techniques are great ways to make a die-cut plate!
Bullet point resolved The last tip here is to resolve your design if you need to add more space or elevation. These steps can be done quickly and easily by cutting and re-cutting your paper.
Create a plate frame if necessary

If your die cut plate needs a frame, there are a few ways to do it. You can use paper or foamform to create the frame. You can use wood or glass to create the frame. Or you can use metal hardware and glue to create the frame.
Many people use wood as the material for their plate because it is so versatile. You can use solid colored wood or mixed woods such as walnut and cherry. You can also combine clear and colored glass with your plate to make it look more layered.
To make this tutorial easier, we will show you how to make a simple die cut plate using just one type of material. However, these tips still apply if you need to change them!
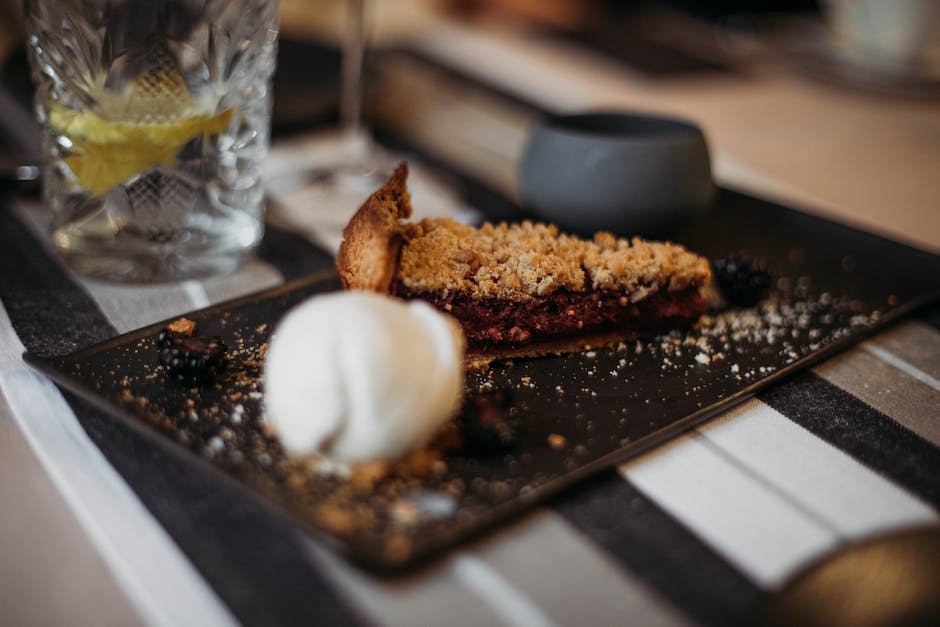
Figure 1 shows some examples of what your plate may look like with different materials. Even though these examples show only one type of die cut plate, these tips apply whether they are solid, staggered, or some form of layering.
Mount your plate with the die cut edge down

When making a die cut plate, your first step is to make the cut. Then, you mount your plate to the work surface using the die cut edge down.
This means that you do not pass thediecutcirclearoundtheplateandthroughtheworksurface,but ratherguecesandapplyyourcut.
You can now add your fill and finish, if needed. Add some texture and/or glue down to make your plate pop!
Bullet point removed and replaced with text: When gluing your plate down, do not use a solvent-based glue such as epoxy or wood glue. Instead, use a high-quality liquid glue such as Kapton or Goop. These hold better to the plates surface texture and may also prevent any shifting of the piece while you are cutting and working with it.