
When home owners or homeowners looking to remodel their home look torimp on some luxury features like a jigsaw. Jigsaws have many different shapes and sizes which offer different cuts.
Many people these days choose the less expensive quick jigsaw because they are not always too focused on doing a good job which is nice!
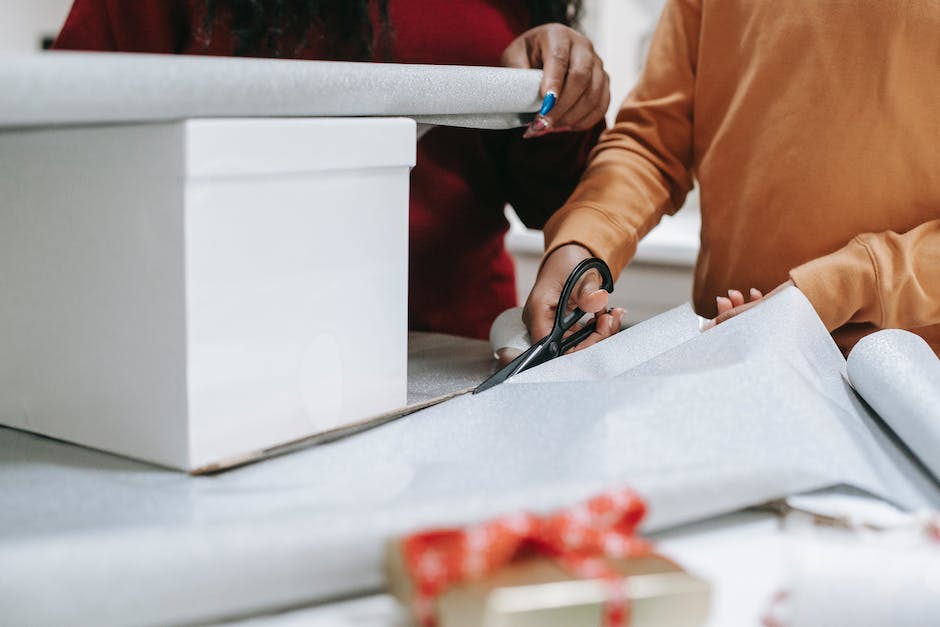
This article will talk about how to use a jigsaw to cut melamine, the popular material used in tabletop dishes.
Cutting melamine can be tricky! If you do not have a good cut, it can become hard and/or sharp (this depends on the size of course). You also have to take into account where you want to put it and how long it needs to sit out before you use it.
Contents:
Tips for using a jigsaw

Most machines will not match a square cut on a jigsaw with a round cut on another tool. This is due to the fact that the two cutting planes do not
merge into one when cutting.
If you have a bandsaw, you can easily turn your jigsaw into a bandsaw by buying an extension tube!
You can also use the jigsaw as a circular saw by purchasing an extra rip fence and using it as a table top. Or buy one that is specifically designed for cutting beams and posts!
The best tip we can give is to learn how to use your machine properly. If you have to switch up your style, do it right! Get help from an online video or book lessons if you are short on time.
Choose the right blade
When cutting melamine, the right tool for the job can be a jigsaw. Many brands offer their tools in a jigsaw format, making it easy to start playing with different shapes and thicknesses.
Many models come with a chisel-like blade that is difficult to control and precise. These can be very limiting when cutting melamine!
If you have a hand router, skip the router and use an edgebanding technique. If you have a tabletop drill, take away the metal casing and use a soft plastic one. If you have a handheld drill, give up on those ring-shaped batteries and use high-power NiMH or LiD rechargeable cells.
Choose the right angle for the jigsaw

When cutting melamine, your jigsaw must be set on a smooth surface to ensure the proper angle of the chip.
Mostly, this means that you do not cut too deep or too short. If you try to, the melamine will break apart and possibly escape, creating a dangerous situation for yourself and others.
Only cut short pieces of melamine as this will give you more space to work with as you shape it. Longer pieces will take longer to shape and possibly break apart. You can also choose not to use a jigsaw if you have one!
Good quality hand tools can cost around £4 average, making them cost-effective for most people.
Know your material

When cutting melamine, you need to be aware of the different kinds of plastic and how they behave.
Some plastics are more resistant to cutting, while others require special equipment or techniques for successful plastic removal. Some glass doors cannot be tranferred from one machine to another because of the difference in plastic material.
It is important to know which plastic materials need which equipment or techniques when removing them. For example, Some silicones can be melted with a torch and re-applied as a finish on furniture pieces or products, while others must be grinded down and utilized as a flooring material.
This article will discuss how to use your jigsaw to cut melamine into pieces that are about 1 inch in diameter and thickness.
Slow is always better with a jigsaw

Most people recommend starting with a fine jigsaw, the kind you use for household projects like trimming closet shelves or cutting through furniture layers.
The thicker the jigsaw, the deeper you can go with your cut. A thin one can be used for thinner materials like laminate.
We suggest starting out with a small one, and then getting a larger one as your next one. This way you will learn how to use it properly!
After you get the hang of it, buy a bigger one so you have enough room to work with all your supplies. You will also need some additional tools to make cutting easier, like compound axes or hand axes.
Make small cuts first

When cutting a piece of melamine, the first step is to make sure you have a sharp jigsaw. Most models have a sliding feature that allows you to make small cuts without disturbing the rest of the material.
Once you have made those cuts, then it is time to start working on your project!
Many times, projects can be started off by gluing one piece of material together. This makes it easier to slide the jigsaw in and out of the material, making it easier to use some glue on one side and paper on the other.
Caring for your jigsaw is key! You should never let it dry out or use too much while still wet.
Go over the line several times

If you notice any white or thinning lines or breakage, you can go over the line with your jigsaw to fix it.
This means adding more cuts and working around edge geometry. If you have some exposed round marks, for example, add a few cuts along the inside of the ring to make it thicker and easier to handle.
If you have some thin spots, add several cuts across the top of the ring to make it thicker and easier to handle. If you have a thick ring that doesn’t look like it can hold your phone in place, add a few extra cuts below and above to make it look thicker!
These steps may seem complicated, but they save you from having to replace your ring in the long run.
Keep the blade clean

When you’re ready to jig a piece of melamine, the first step is to make sure the blade is clean. You can do this by rinsing the blade with warm water several times before each cut.
Some jigs have a special rinseable blade that can be done at an early stage to save time and effort during cutting. If this is the case for you, then take advantage of the feature!
In order for the blade to work properly, it must be slightly damp when it is inserted into the jig. This allows any moisture on the blade to dry fully before beginning a cut.
Other times, you may need to dry the blade completely using a hotdryer or by letting it cool down after cutting. In either case, make sure to protect the blades from further use by rinsing and drying them appropriately.