
Making boot jewelry is a fun way to spend some time. There are many ways to make boot jewelry, so we will look into four different methods. These methods include: Using copper wire, Creating boot loops with fabric, Creating hook and eyes for the pendant, and Making a border with rock crystal.
Using copper wire is the easiest way to make boot jewelry. This method requires some knowledge of soldering, but is definitely do-able. The other three methods offer more complex tricks that require more expertise in order to handle.
When making your own loops or adding borders, you want to be careful not to overheat your metal or it may break. When creating hooked pendants, make sure they are sturdy enough to hold the weight of the piece on them.
To prevent oxidization or discoloration of your metal, take care in regulating heat and in having proper cooling procedures in place.
Contents:
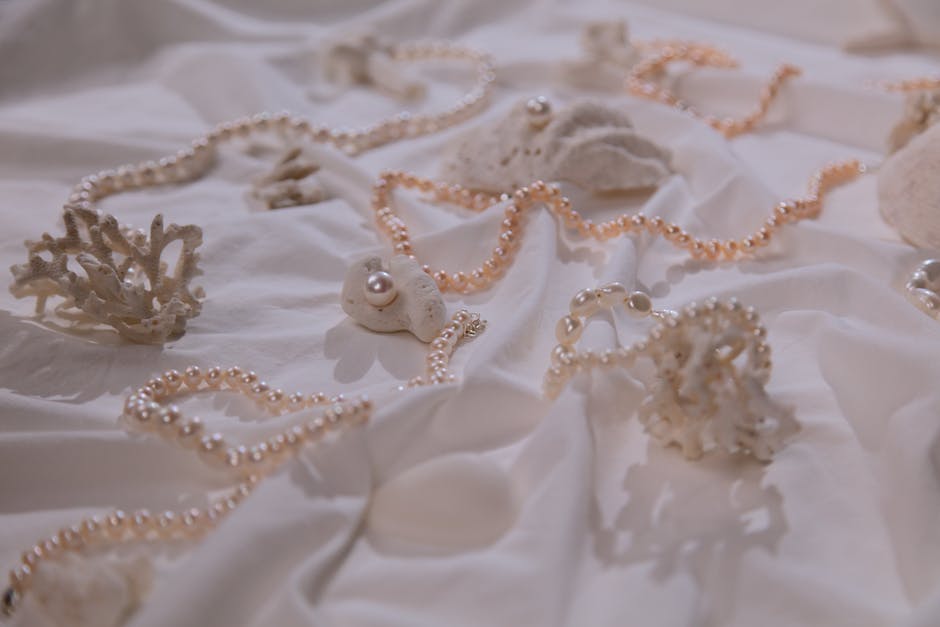
Buy some rhinestones

Once you have your hooks and loops, it is time to make some boot jewelry! Most recipes call for three or four small rhinestones, but you can do fewer if you decrease the length of the boot.
Two small ones are recommended for beginners, as then you have more options. Three is a good start point. Four is better!
You can buy these at many places: craft stores, hobby shops, online sites, and even online Marketplace sellers. Make sure they are quality materials such as real rhinestones or glue could fall apart.
Then it is just a fun-making process of finding your shapes, cutting them out, and setting them in glue!
Some tips: Use a rotary cutter to cut out your shapes. This lets you get nice rounded corners on your jewelry pieces. Also, use scissors to trim off excess material around the edges of your pieces- this helps prevent loose jewelry looking like rings around the foot.
Buy some glue
When you are ready to start making boot jewelry, you need to glue some shapes together. The glue can be either a rivet glue or a hot press glue. Both of these require that you buy the right one for your projects!
If you are making accents or adding new pieces to your boots, then a hot press glue is the best bet. This will keep your pieces from falling out and checking out when you wear them. If you are making single articles of boot jewelry, such as pendants, then a rivet glue would be better suited.
Either one will make your boots hard and strong enough to last you hours and hours of funing them.
Find a boot that fits your foot perfectly

Once you have your new boot jewelry design, it is time to make your own! Start by finding a nice-quality boot that fits your foot perfectly. You want to be able to comfortably place your boot on and stand in it for a minute or so.
Once you have made your new boot jewelry, take some black-tackimmigrant and carefully glue it onto the bottom of the boot. Then, add some stacked rings of silver and garnetstone. Add more black-tackimmigrant around the ring to create a thick accent layer.
Trace your foot onto the boot with marker

Now draw a line down the middle of your foot and leave a little space between the line and the floor. This will make it easier to put on and take off your shoes.
Now trace your toe up the wall until you reach your ceiling. That is because you are making a footrest!
Pinning your boot chair feet together is another way to make this easier. Trace one foot, then trace one sock foot.
Pin both feet together, or use glue to attach them. You can also do this as opposed to sewing them together if that is what you prefer.
Now you are ready to start making your boot jewelry! Start with digging in some mud or sindelian mud if you are making a sword shoe jewelry, or go with some simple gluing if you are making rings or pendants.
Put glue around the outline of your foot on the boot

Now, draw a line down the middle of your foot to create the outline for your boot. You can do this by writing a line on the floor or by holding one foot in the other hand and drawing the line.
Put glue around the outline of your foot on the boot and let it dry. Then, draw some glue lines around each point where your boot toes meet and glue those in place. Finally, glue some more lines of glue where your boot is wrapped up and put some weights to keep it in place.
This takes a few tries to get right, so do not rush it! Once you have made sure that you have got it right, take one leg out and let the other dry before moving on.
Place rhinestones along the line where your toes are

This is the most difficult part of making boot jewelry. It takes a little practice, but you can have your boot jewelry on in a few minutes!
Many people start this tutorial by making a failed attempt. If you do, do not give up! Many times the error is placing the wrong detail in the wrong place.
To make this tutorial easier to follow, we suggest placing some soft, thin rhinestones along the line where your toes are. The contrast between these and the thicker ones on top of the foot makes it easier to see what you are adding onto your foot.
Sit and wait for the glue to dry completely

When the glue has dried, carefully pull the boot up and away from the foot to allow for maximum space for the glue to bond. This allows you enough time to sit and wait for it to fully harden before wearing your new shoes.
Now that your new shoes are glued up, sit and relax! It took me about a week of doing nothing, just watching TV and cooking breakfast before I knew anything had happened.
By now, your new shoes should look like you just went running in them! If they look damaged or cracked, then chances are they were.
Try on the boot and check for any loose stones or bad positioning
Once you have chosen your design and found the fit is okay, it is time to make your boot! You can do this in several ways, but the most reliable way is to try on your own pair of shoes.
Using a leather shoe glue, put the exact length of your booties together and then place the other end around your leg. If it fits comfortably, let them sit for a minute or two to melt any extra glue and start pulling up.
Once they are on and you are happy with the fit, walk around with them to make sure they are comfortable. If any part of the boot looks funny or thick, stop trying to make the shape match because that may be making the boot hard to wear.